So, you’ve decided to take the plunge and get a new Hot Tub! With a little planning and preparation, installation is an easy job that can be completed quickly.
There are some finer points hot tub first-timers should be aware of. Let’s go over it, step by step.
Preparing For Your Spa
Site Selection
View, privacy, and accessibility are important factors when choosing a location for the spa. Outdoor placement is easier and cheaper than indoor, but both are acceptable.
Before choosing a site outdoors, think about the view from inside the tub: looking at your neighbor’s junk car collection or utility lines is not going to be very relaxing. Trees and plants are nice, but not too close to the tub since they drop leaves and other debris.
Once you’ve narrowed down your placement choices, your final location should have:
- A smooth, level surface
- Structure to support the weight of the tub, water & occupants
- Adequate drainage for rainwater & splash out
- Accessibility to all panels for maintenance or repairs
- Privacy
Spa Foundation
Reinforced concrete slabs are popular surfaces for hot tub placement, but here are a couple of additional ideas that won’t break the bank:
Gravel Base – This is the least expensive option for a foundation. Ensure that the ground is compacted and that rainwater and splashed/drained water will flow away from the tub. Pavers or a walkway are a nice addition to keep dirt and gravel out of the spa.
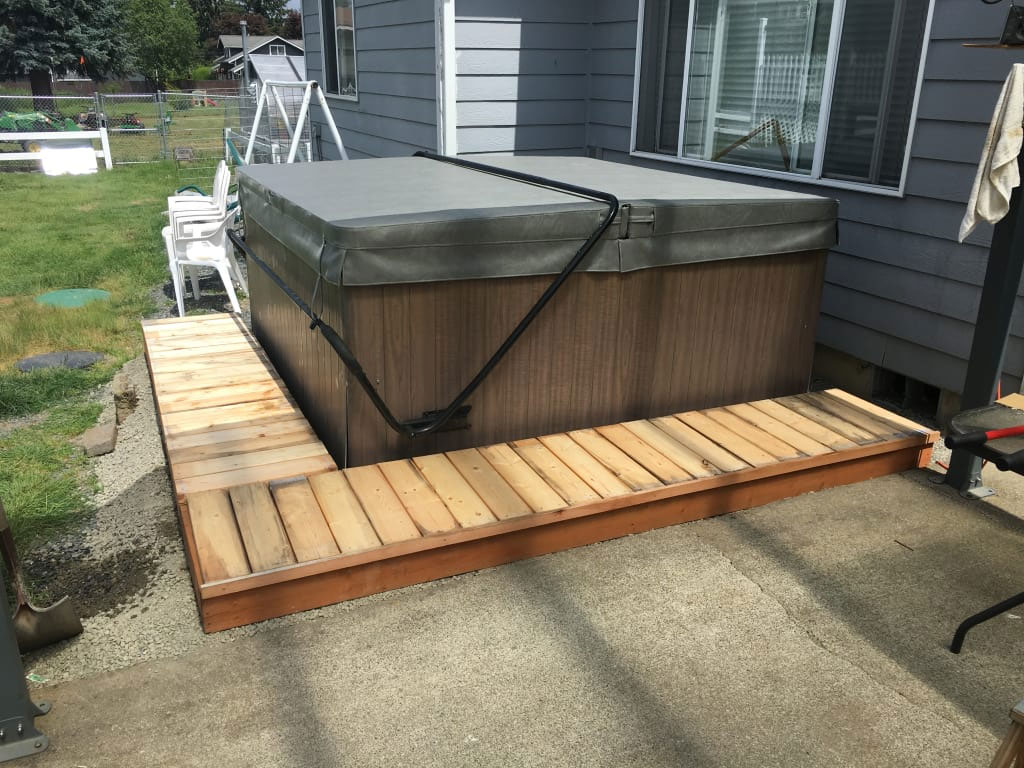
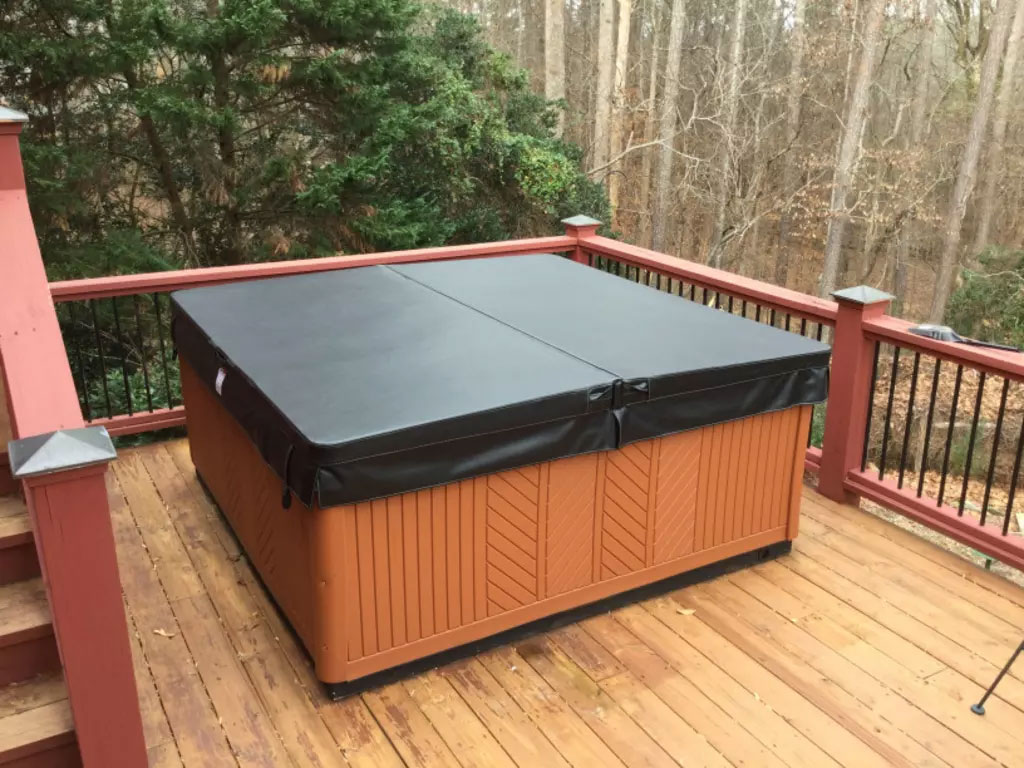
Decking – Wooden deck foundations are aesthetically appealing, especially when the tub is incorporated into the deck, as with a surround or sunken directly into the structure. If you’re thinking of installing the hot tub on a deck or elevated structure, consult with a structural engineer or qualified contractor.
Here are 6 Options for Creating the Ultimate Private Backyard Escape.
Utility Requirements
The spa site needs a drainage area nearby. Keep in mind, that you drain up to 500 gallons from the tub every 3-4 months. While most plant life tolerates treated hot tub water, avoid delicate plants like roses or vegetables.
Plan for the electrical service requirements of the spa. Is the spa location within reach of power?
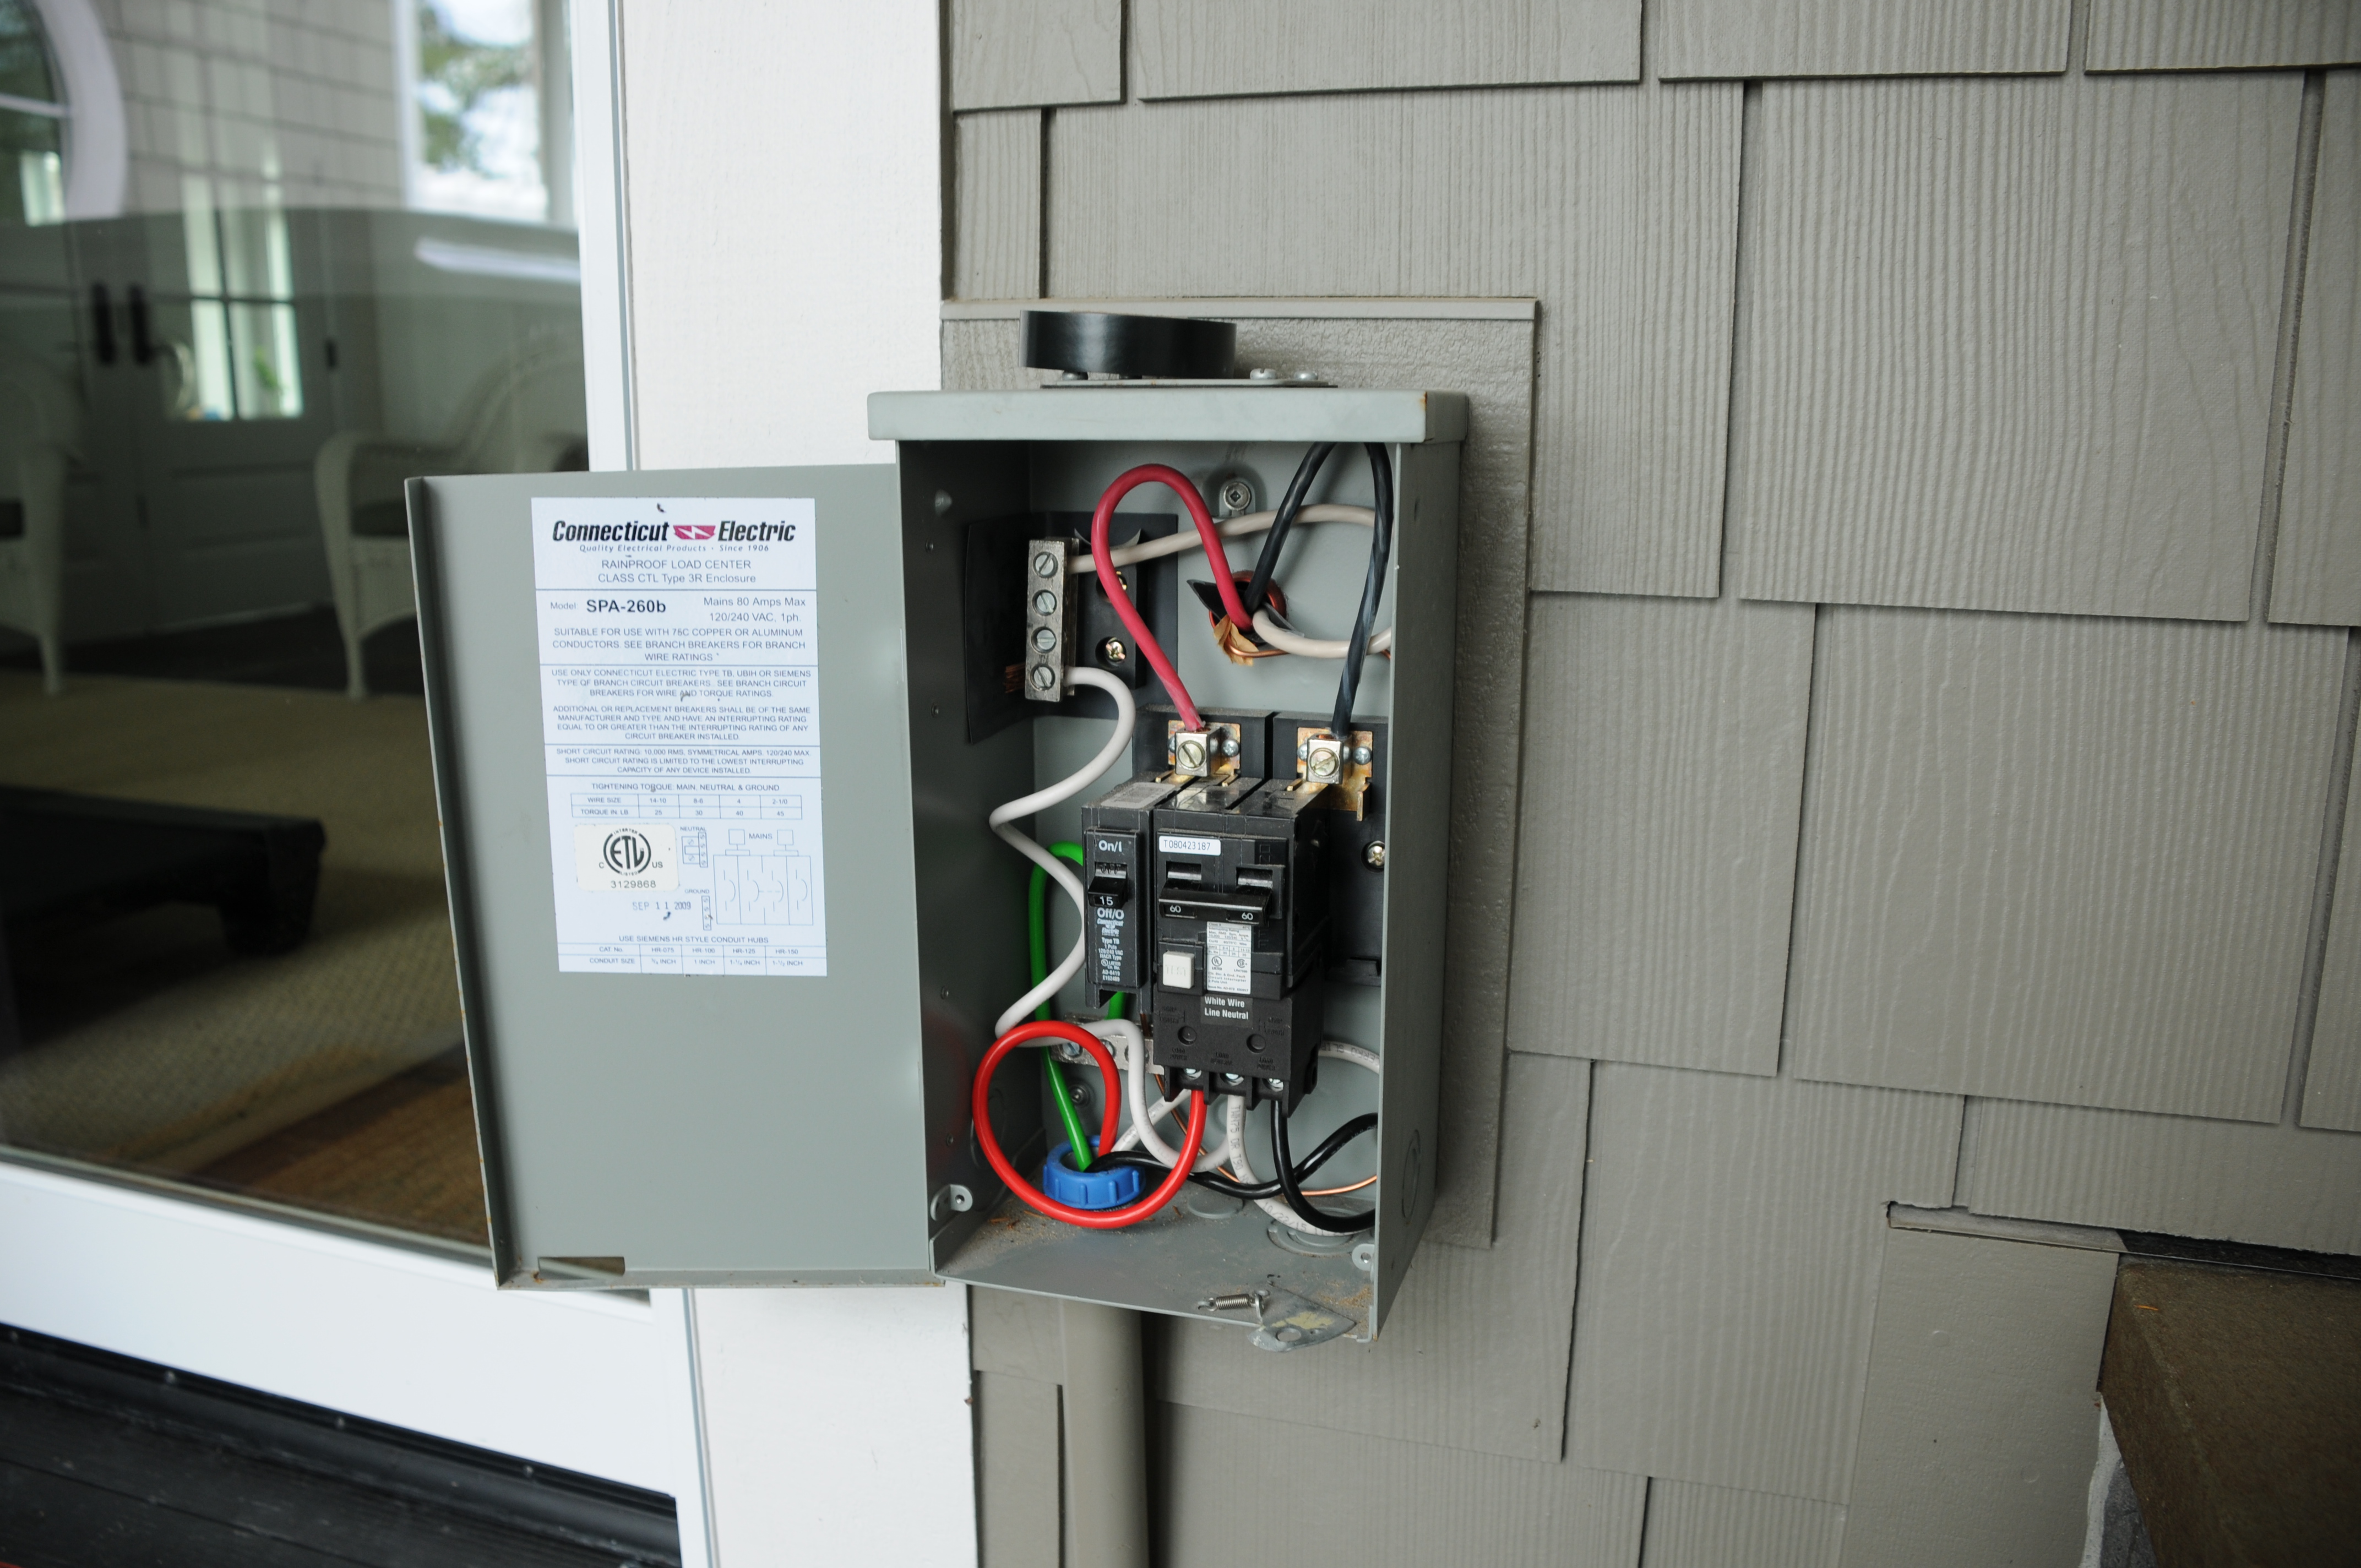
For safety, all spas must be connected to a Ground Fault Circuit Interrupter (GFCI). This critical safety device is designed to shut off power in the event of an electrical short circuit in as little as 1/40th of a second.
240 Volt spas operate on hard-wired GFCI protected circuits, requiring a qualified electrician to run a 240 Volt line out to a GFCI Load Center/Disconnect. The further away the hot tub is from the main breaker box, the more it will cost to wire the new hot tub.
120 Volt plug and play spas are designed to run off of standard 15 amp household circuits. These tubs have a GFCI built right into the hot tub cord.
The National Electrical Code requires the 120 Volt plug-in to be at least 5’ and less than 10’ from the tub, so plan accordingly. An electrician may need to install a new receptacle closer to the tub. Caution: Never Use Extension Cords!
Note: Since 120V hot tubs require a dedicated 15 amp circuit, the services of an electrician are usually required to install that line.
Spa Access
For both indoor and outdoor installation, allow access to all sides of the hot tub. This will be important when it comes to routine maintenance and repairs. Pumps and other equipment can be located anywhere in the cabinet, so being able to remove all of the panels is essential.
Install hatches or crawl space around the spa if you’re planning on surrounding part or all of the tub in a deck. Comfort while working on the hot tub is important, so give 18” – 24” of space for a full-grown adult to access the inside of the tub.
Site Access
Evaluate the route from the delivery point to the spa’s final location. Hot tub manufacturers will provide the dimensions of the delivered package if you ask. With a tape measure, walk the actual path the tub will travel and make a plan for any trouble spots. Look out for low eaves, air conditioner units, narrow gates, stairs, or anything difficult to maneuver around or over.
Crane services are available if you live on a hillside or the desired site is difficult to access. A crane can lift the spa over walls, buildings, or any other obstruction with ease and may cost less than you’d expect.
Installation & Setup
Delivery
Spas purchased online are generally delivered curbside, meaning the tub will be delivered to the end of your driveway. Spas purchased from a dealer may be delivered to the final location, but watch out for any hidden fees or extra charges for this service.
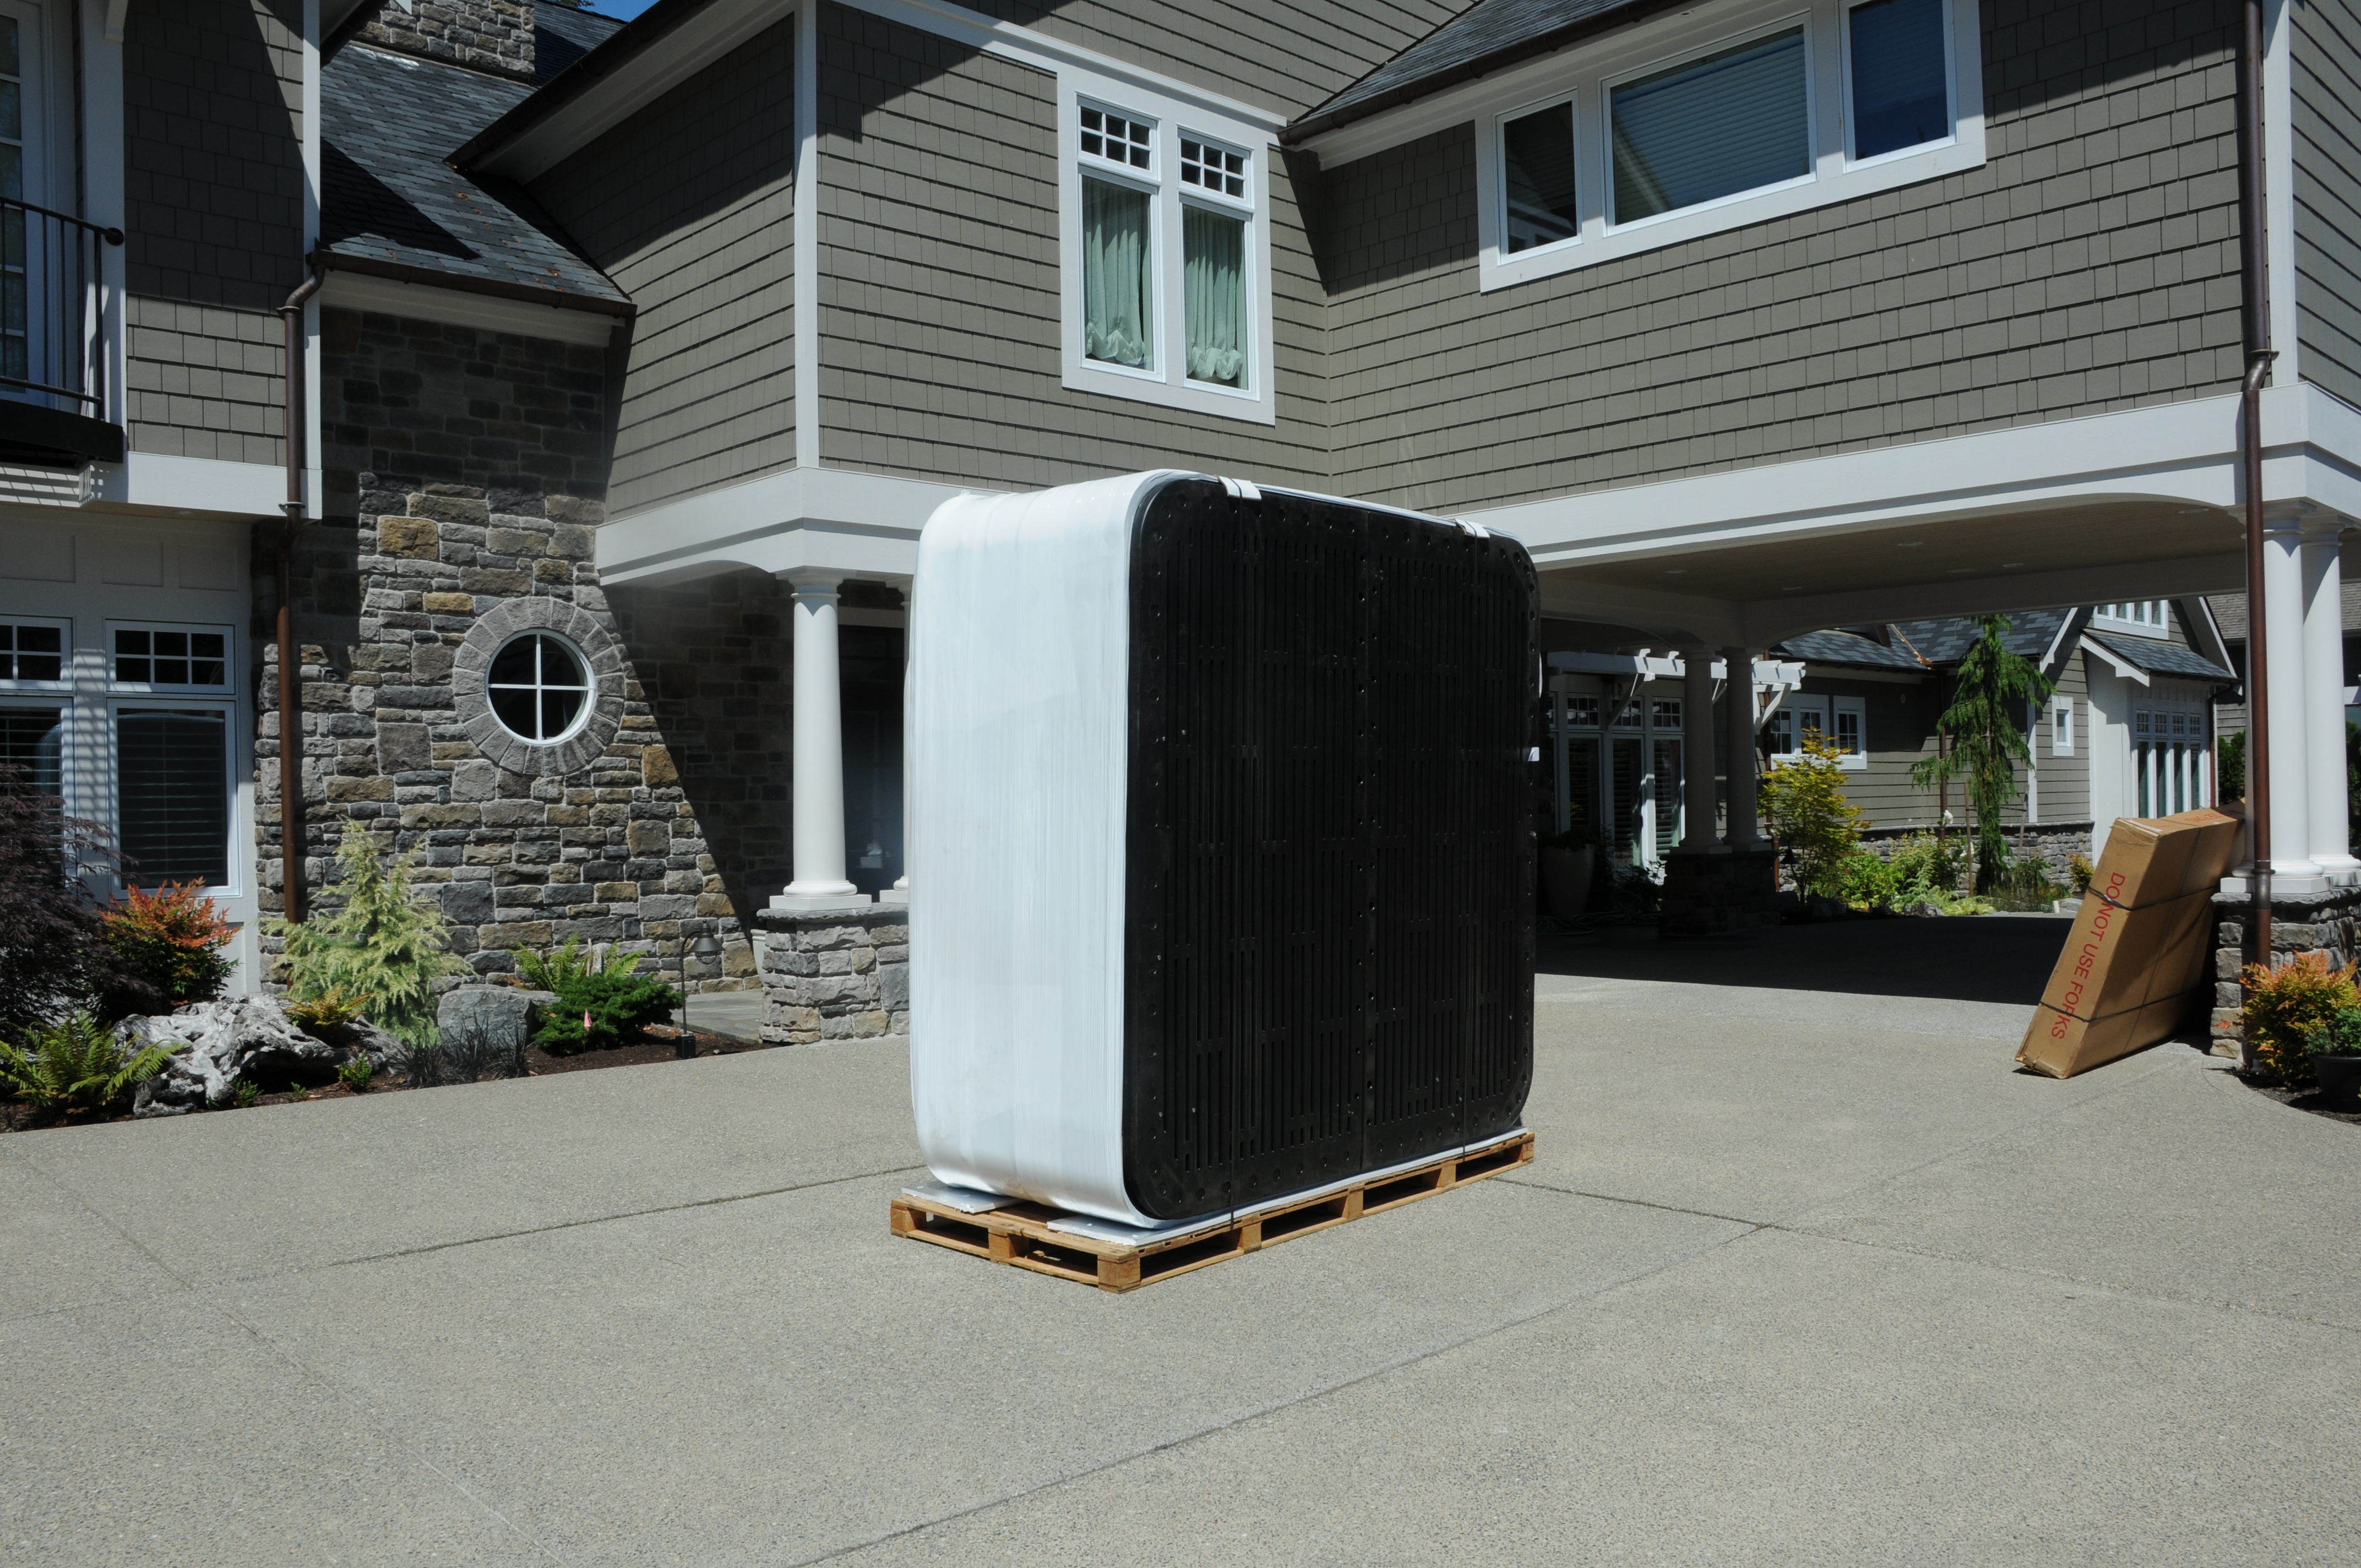
You’ll want to be present on the arranged delivery day to inspect the spa for any damage. With a few helpers on hand, follow your plan to easily move the tub to its final location.
Positioning the spa
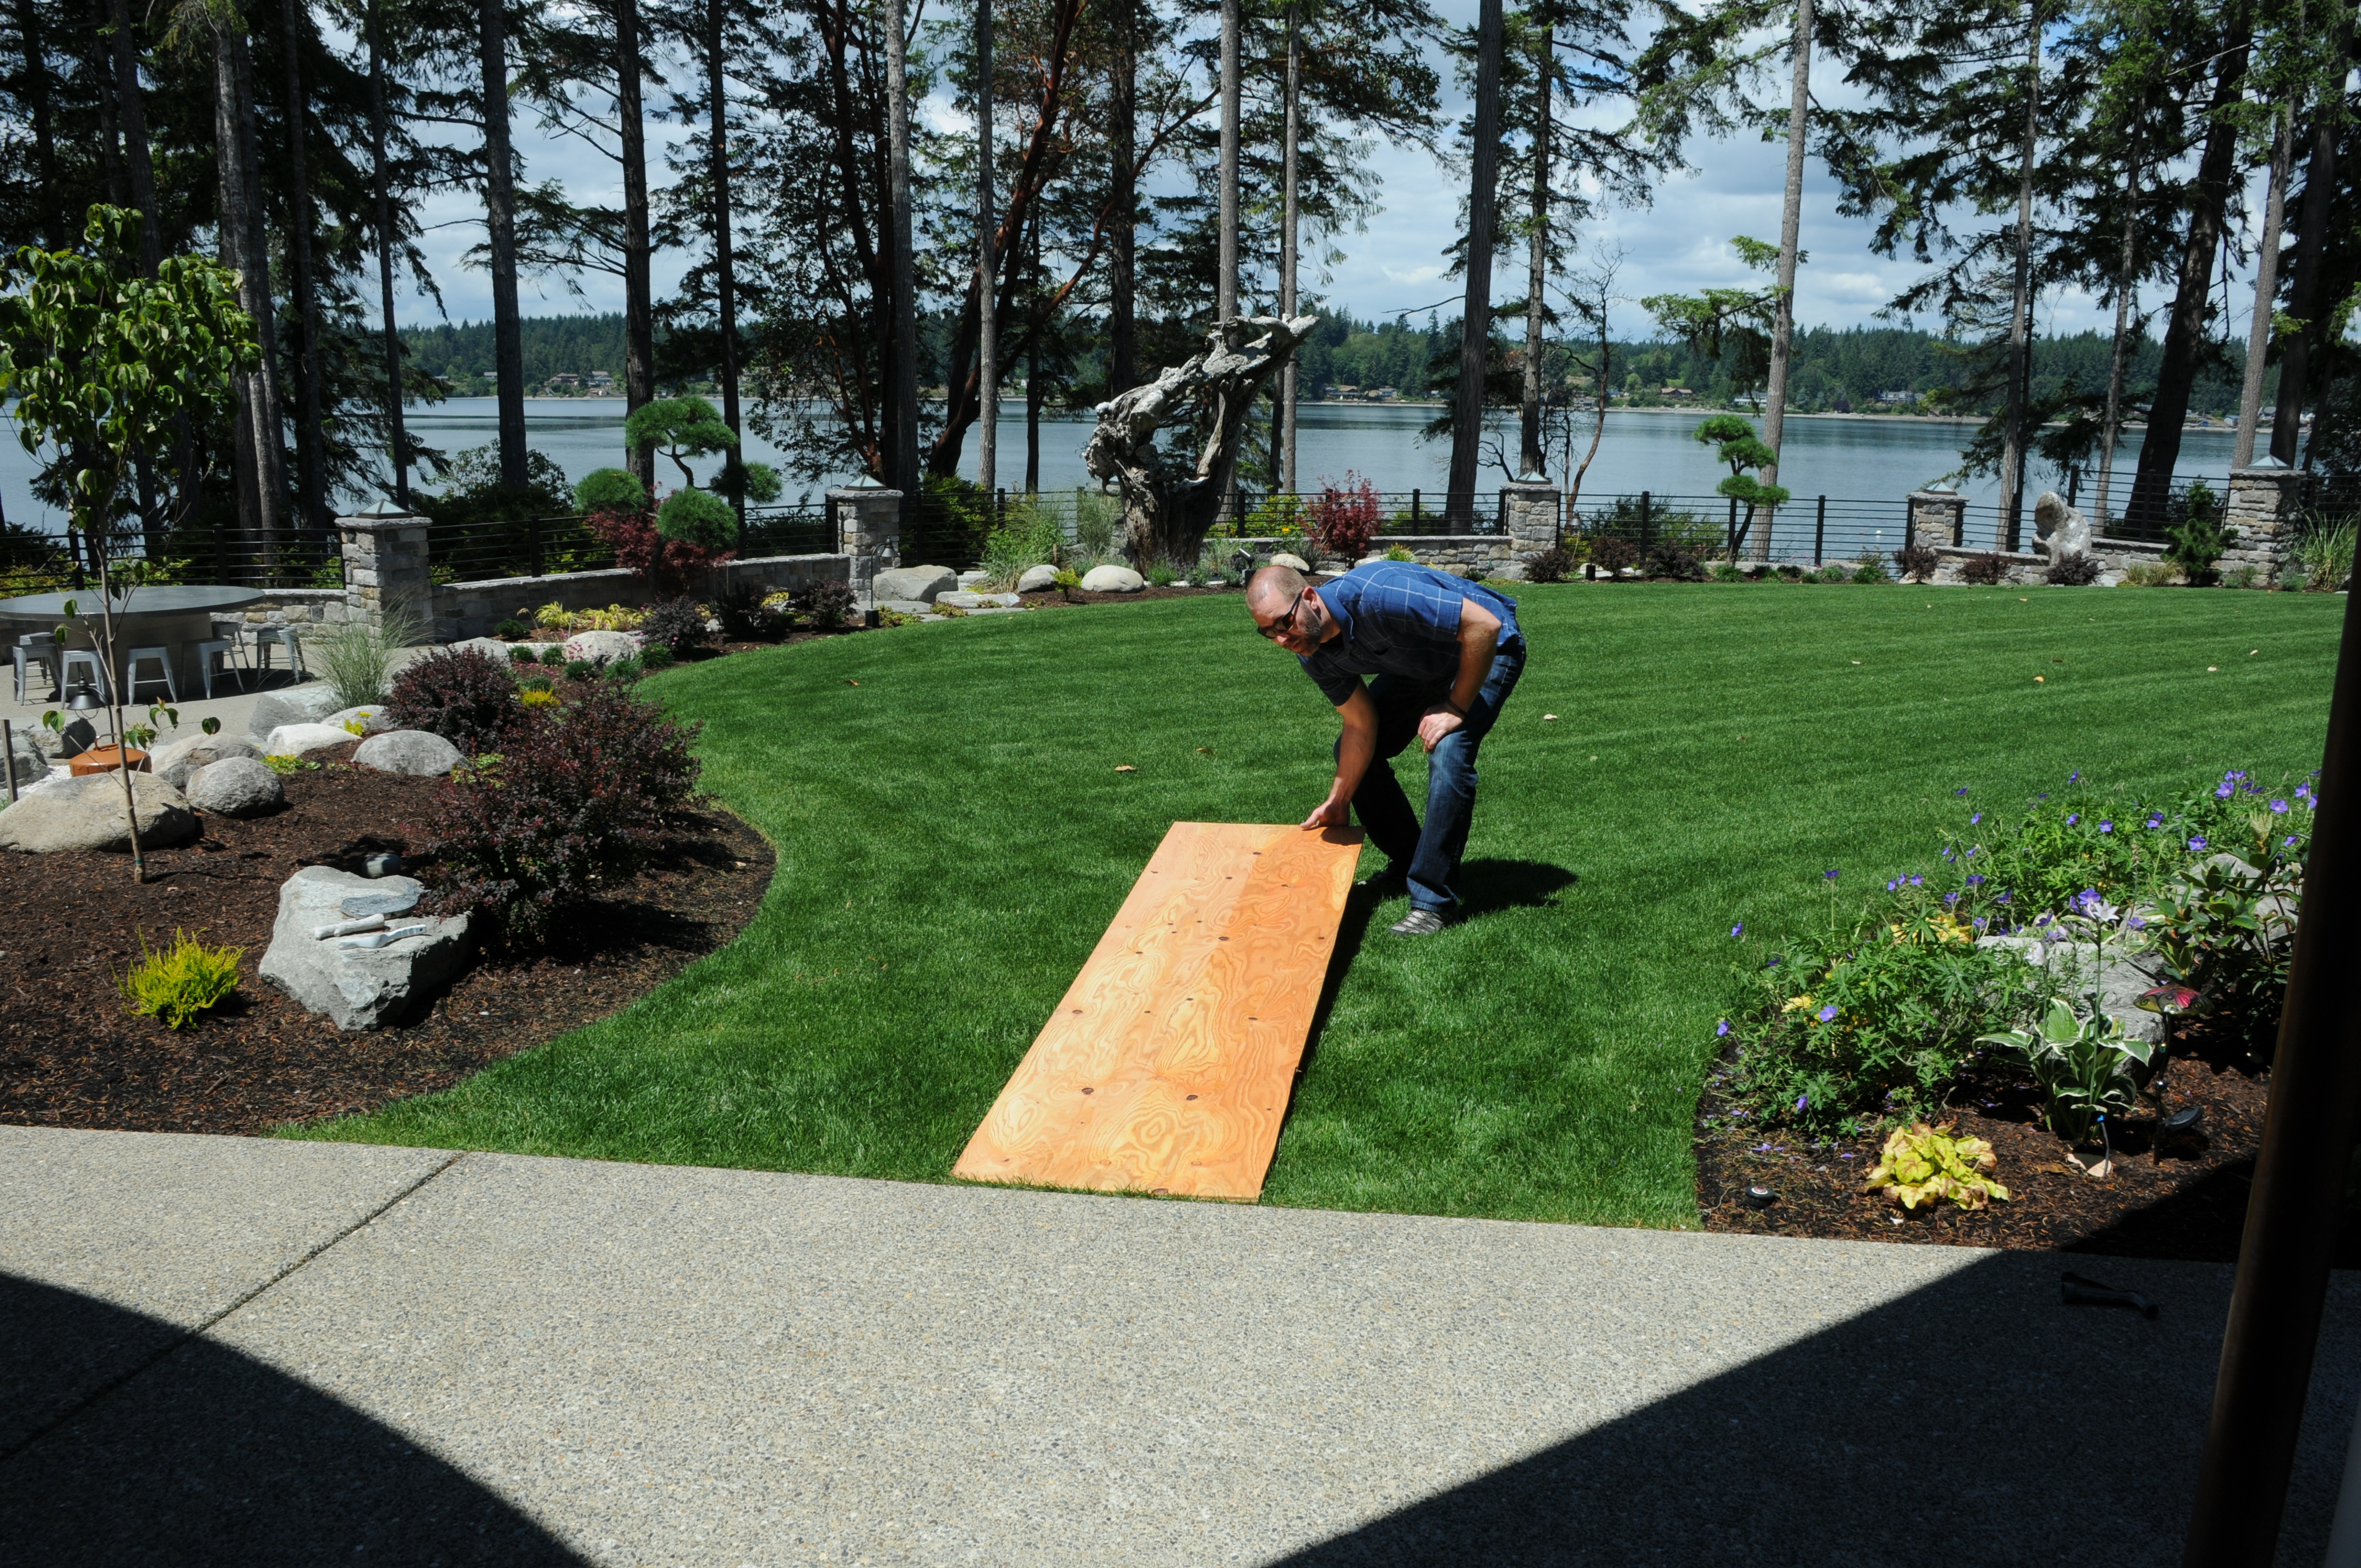
Moving the hot tub to its final location is fairly easy for 2 to 3 people depending on the size of the spa. Since the tub will arrive on a pallet, a rented or borrowed pallet jack is an excellent tool for moving the spa.

Other options are furniture or piano dollies and wheeled frames with carpeted pads, which are available at moving companies for rental or purchase.

Sections of lawn or uneven ground are easy to navigate with a smooth runway. Cut a 4’ X 8’ piece of plywood in half, yielding two 2’ X 8’ sheets. Move one sheet in front of the other as the spa moves forward.
Pre-Fill Prep
With the tub placed in its final location and the power connected, it’s time to begin the startup procedure. Familiarizing yourself with the features and functions of the hot tub is important, so be sure to read the owner’s manual completely before continuing.
- Remove exterior panels
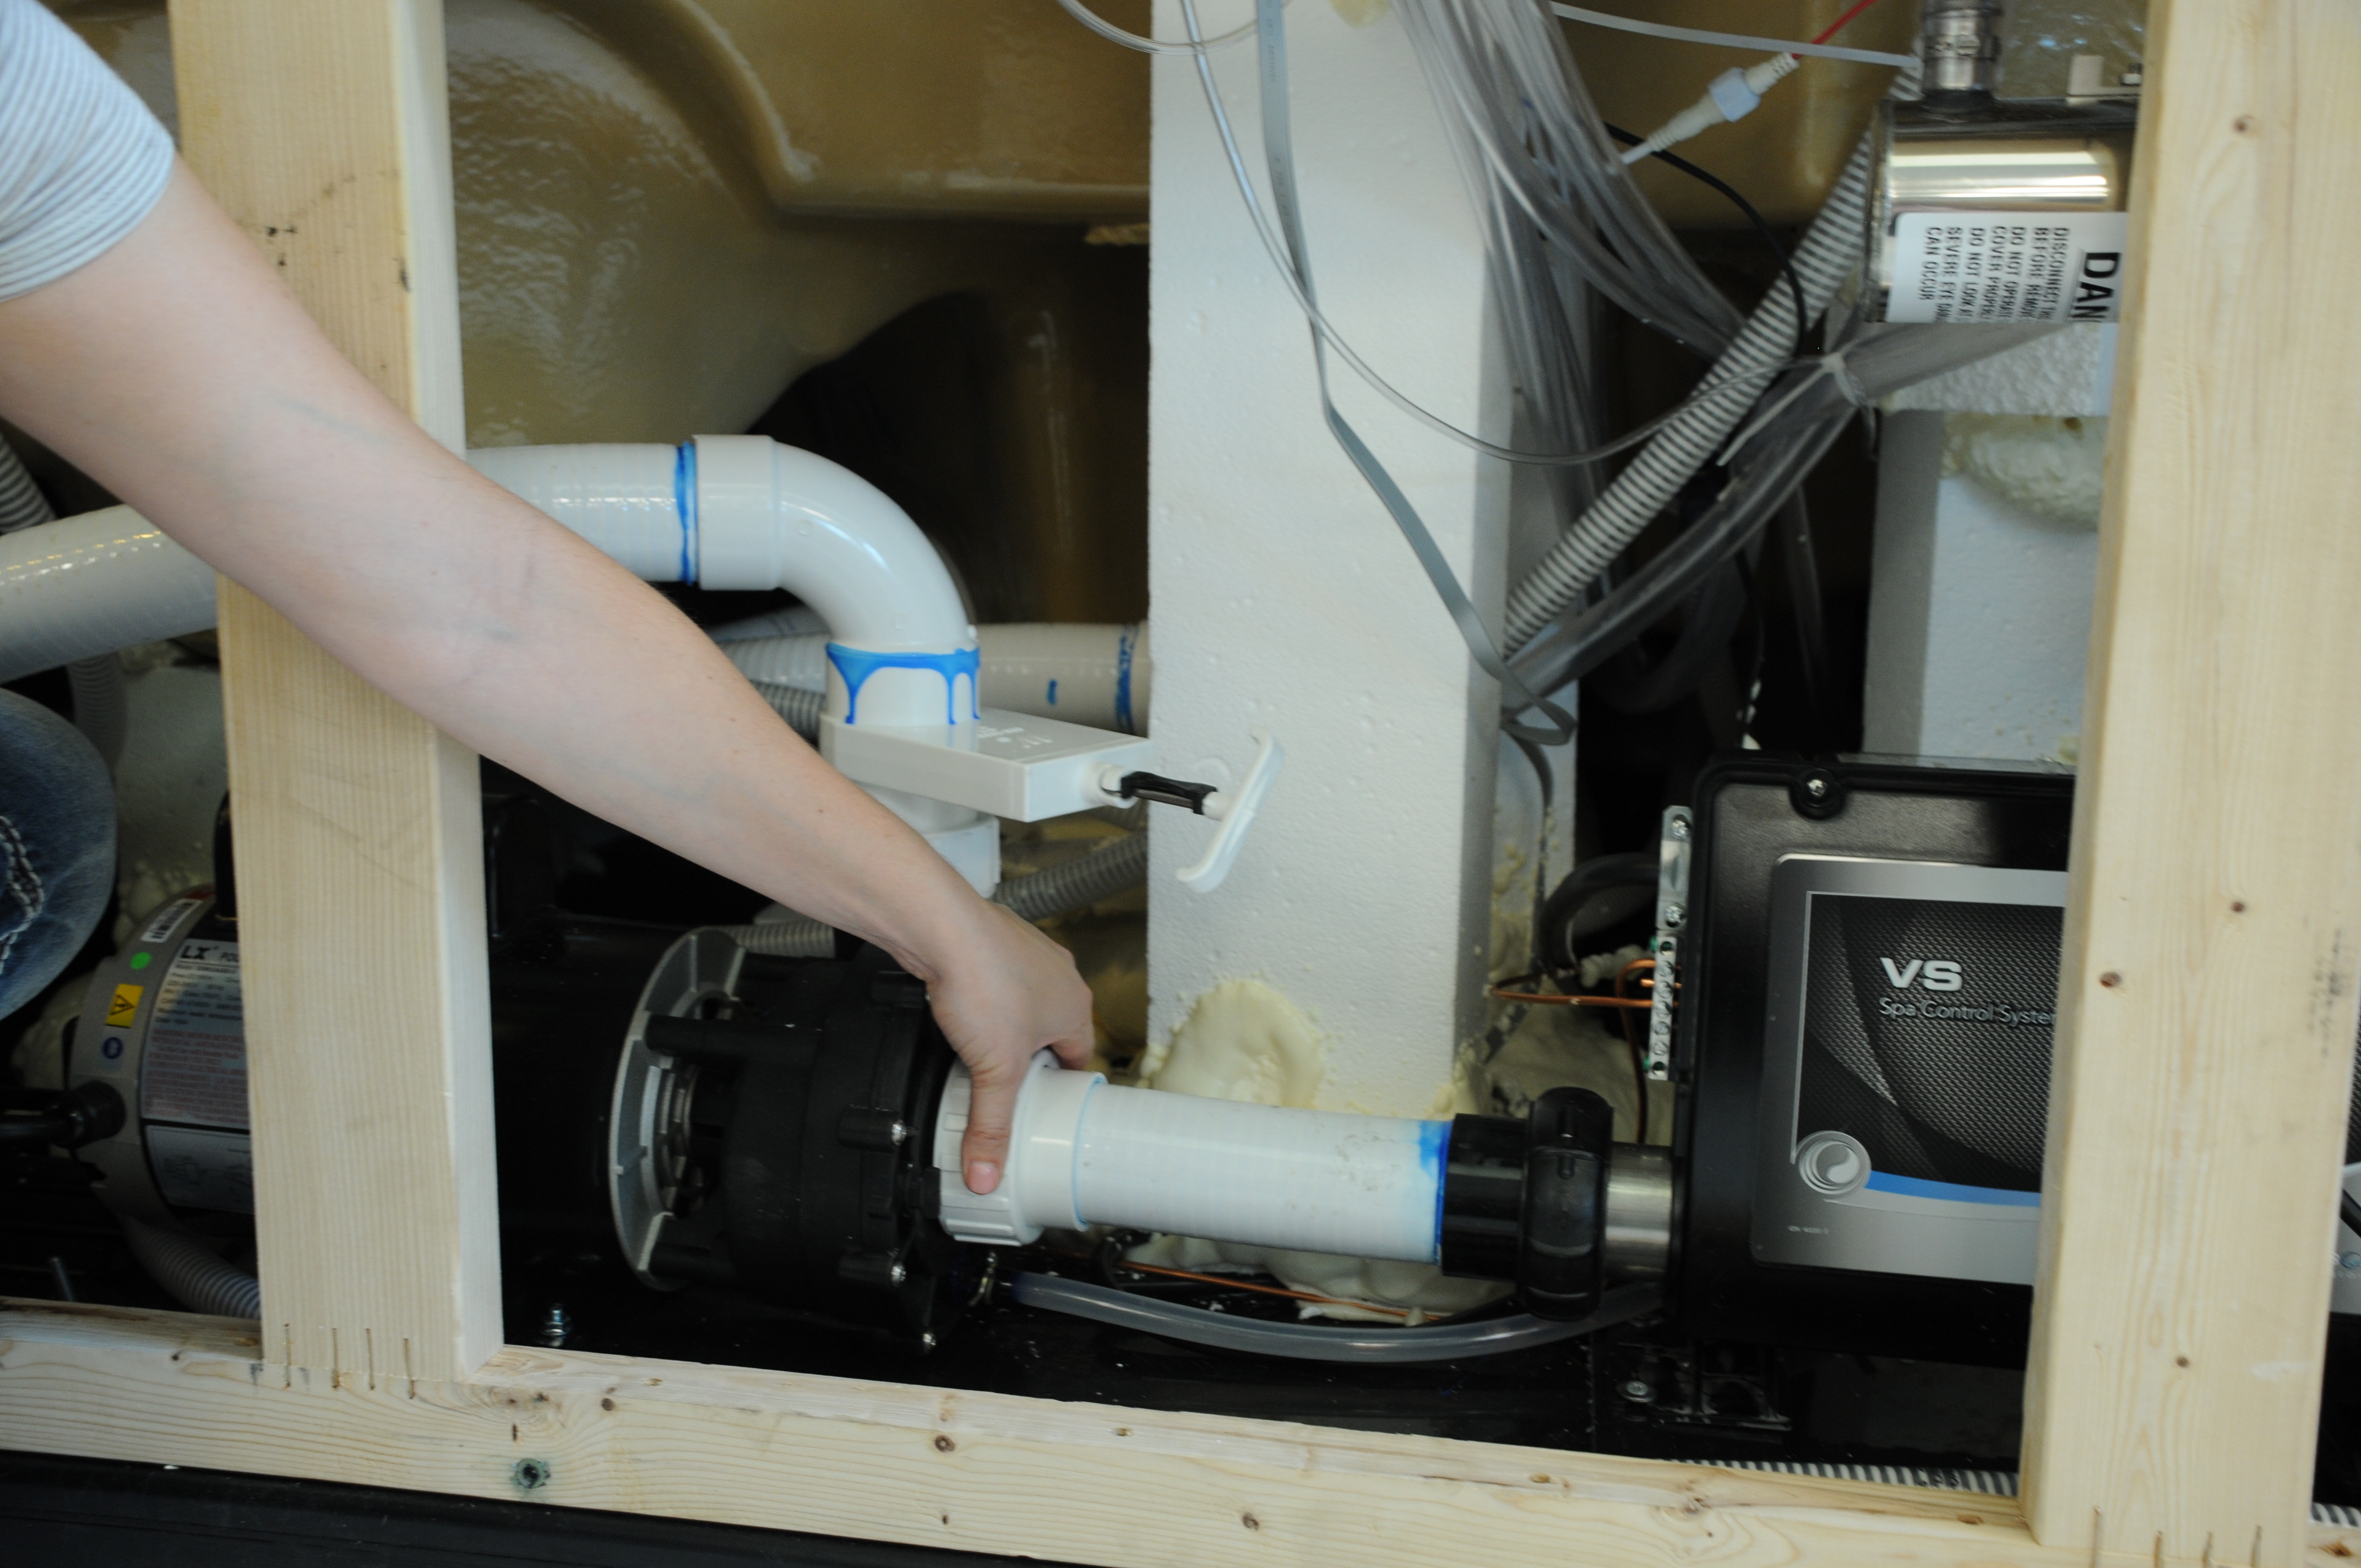
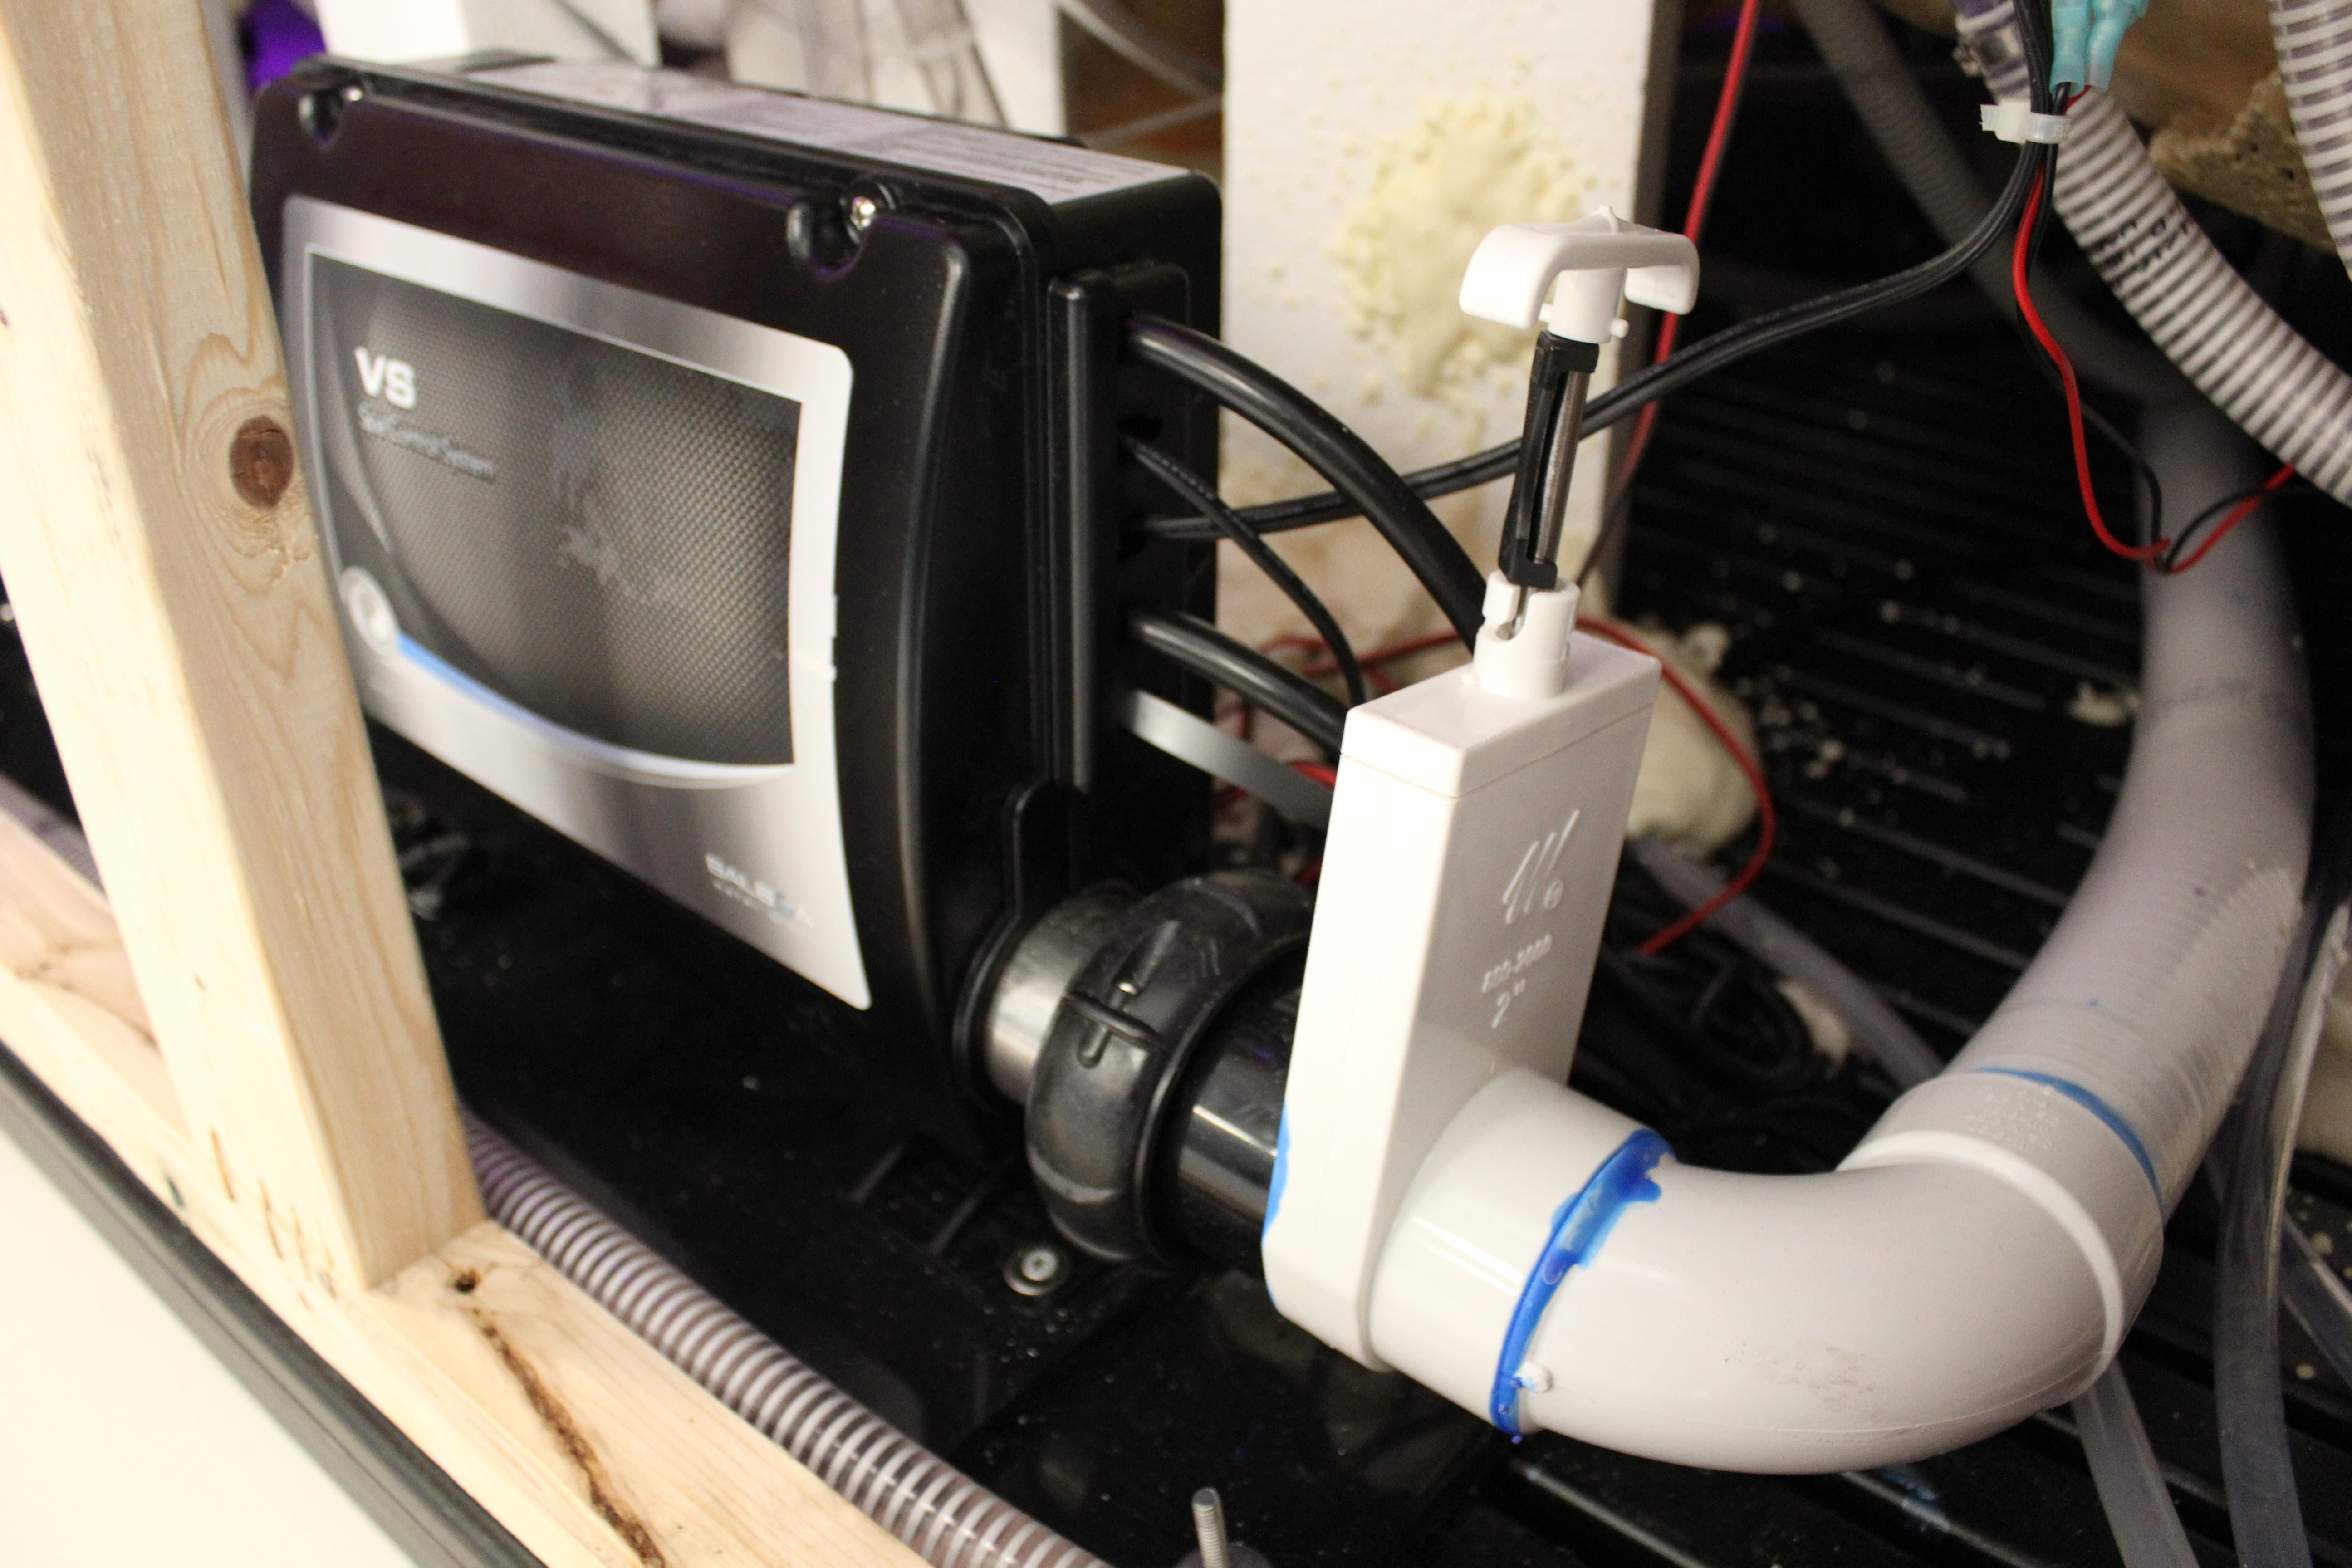
- Hand tighten loose unions a the heater and each pump
- Open gate valves by pulling the handle up & locking it using the Gate Keeper.
- Remove filters from the filter chamber
- Clean the interior with a pH-neutral, non-foaming cleaner
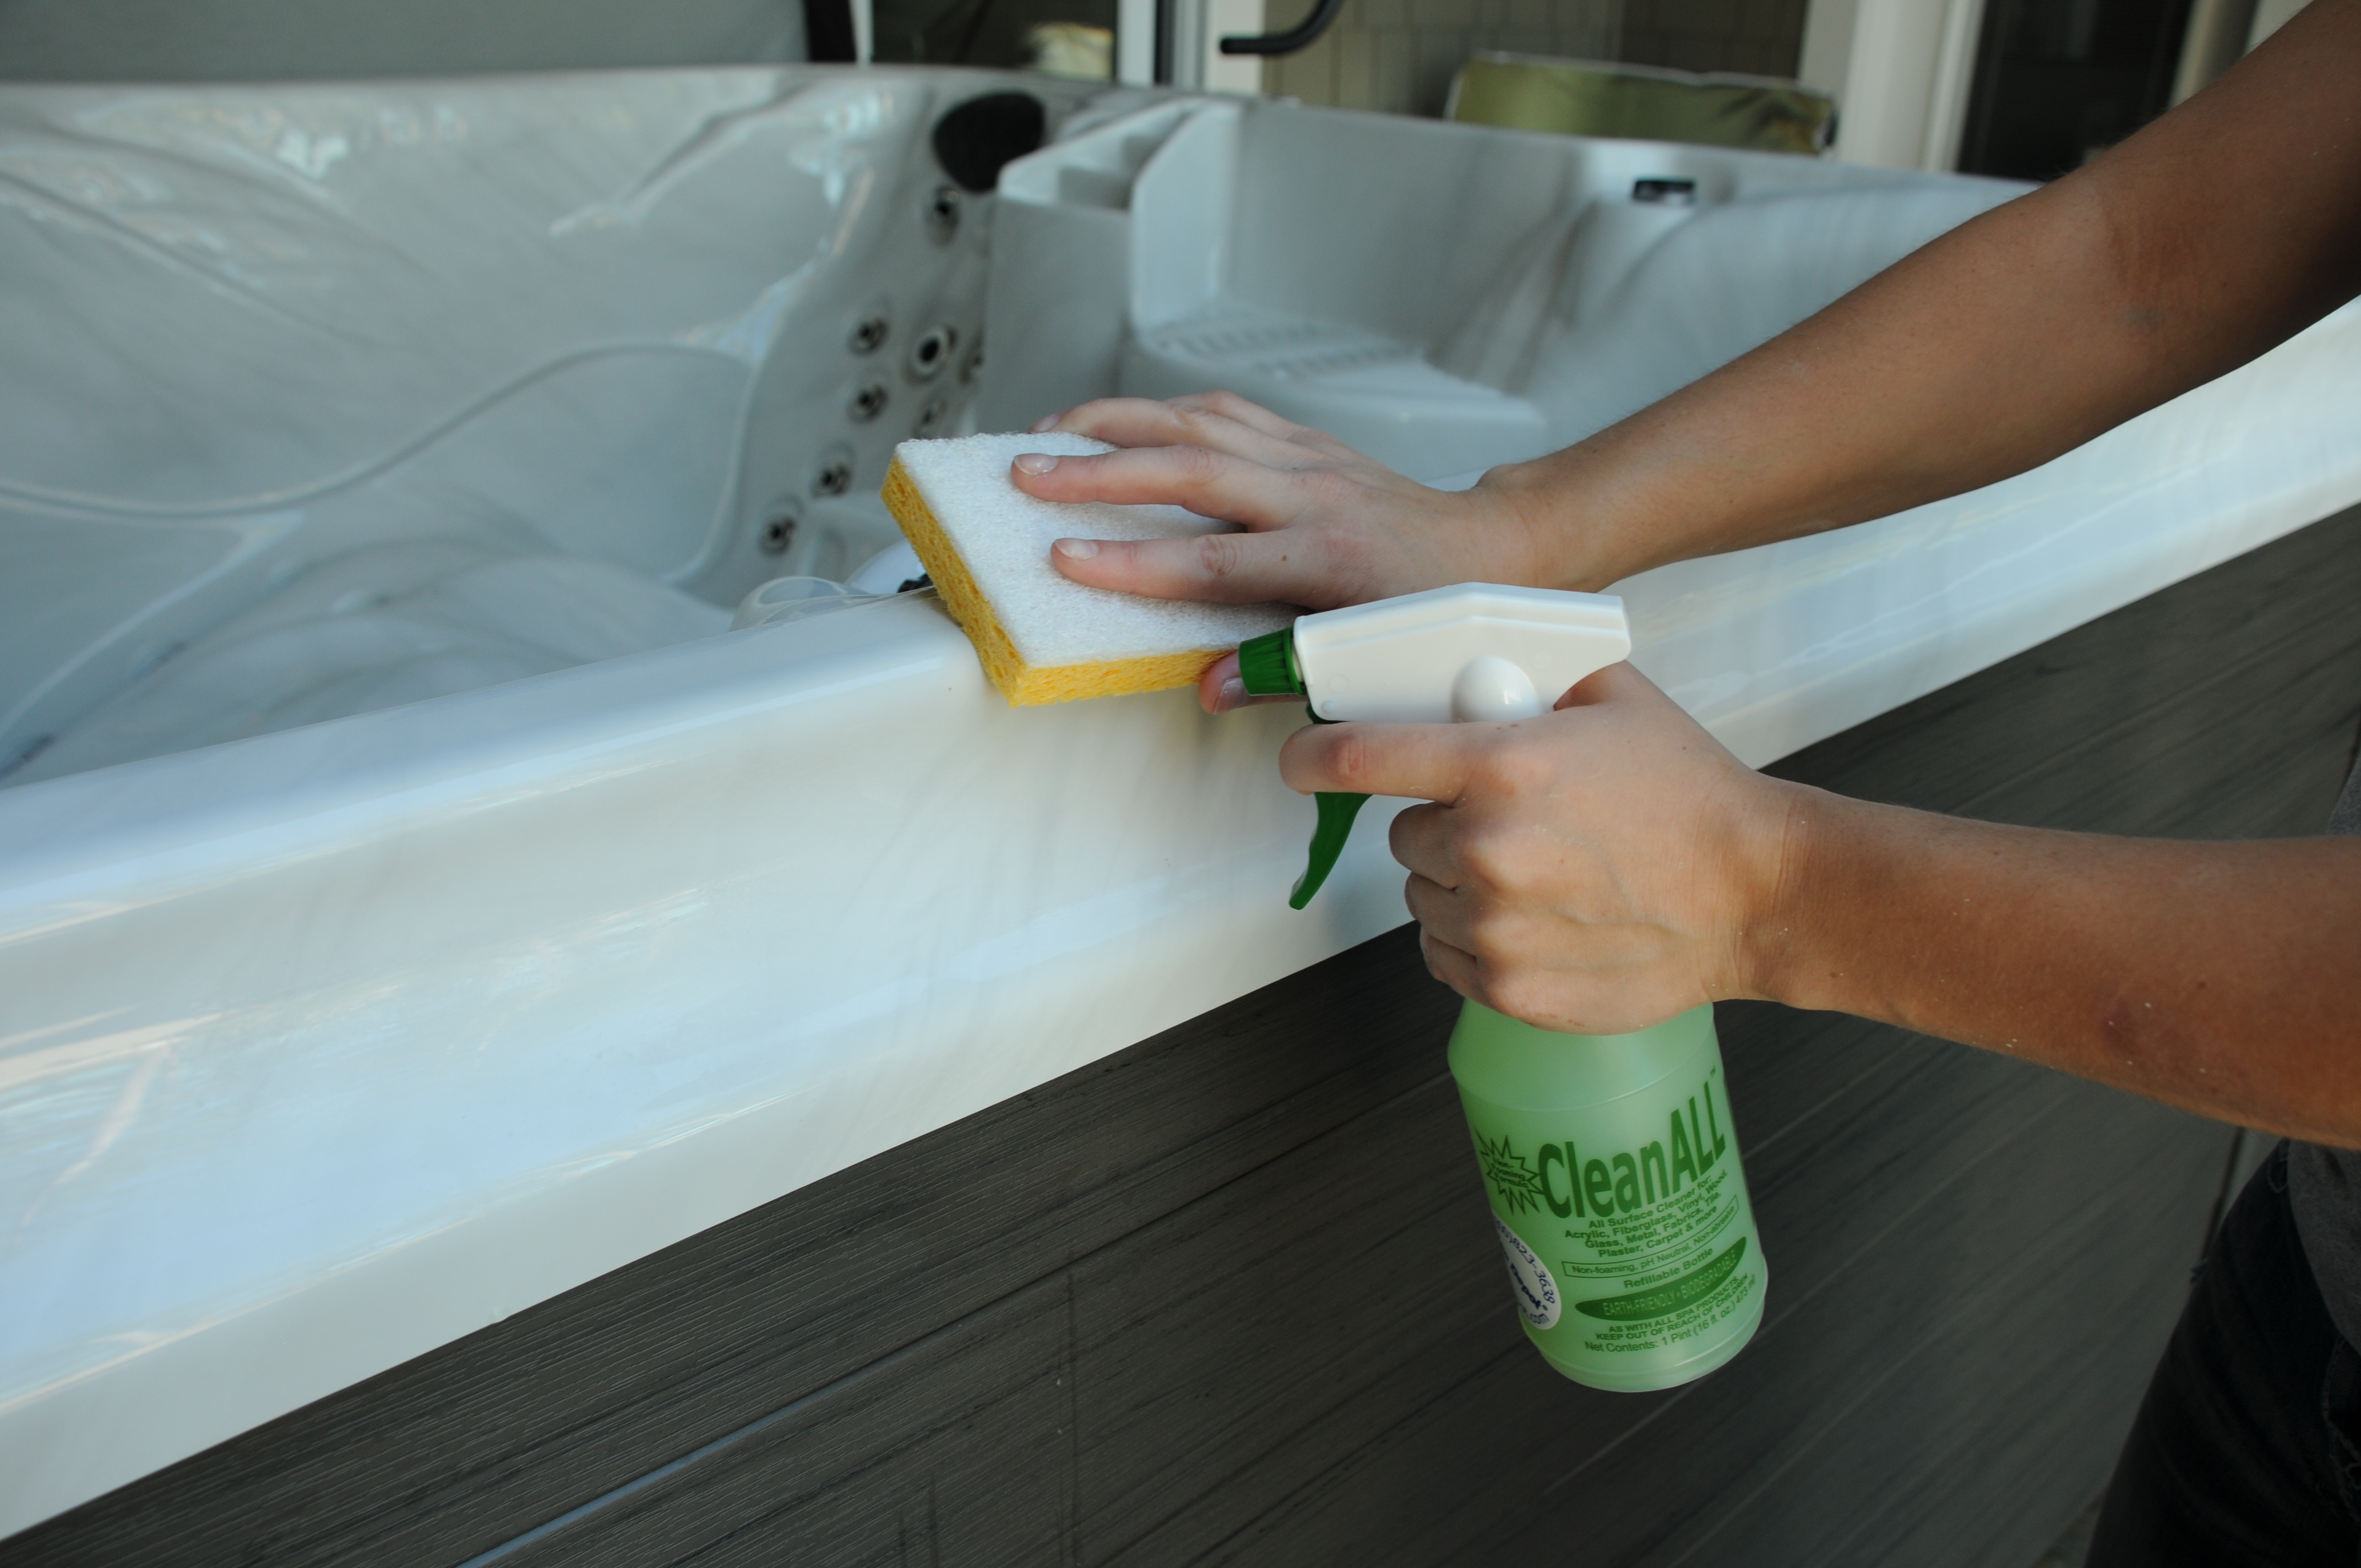
- Rinse the spa shell
- Fill with about 12″ of water
- Open the drain valve to release the dirty water
- Close the drain valve
Filling your Spa
Before finally filling your hot tub, take stock of the condition of your water source. Use a PreFresh hose-end spa pre-filter if your water is from a well, or has other impurities.
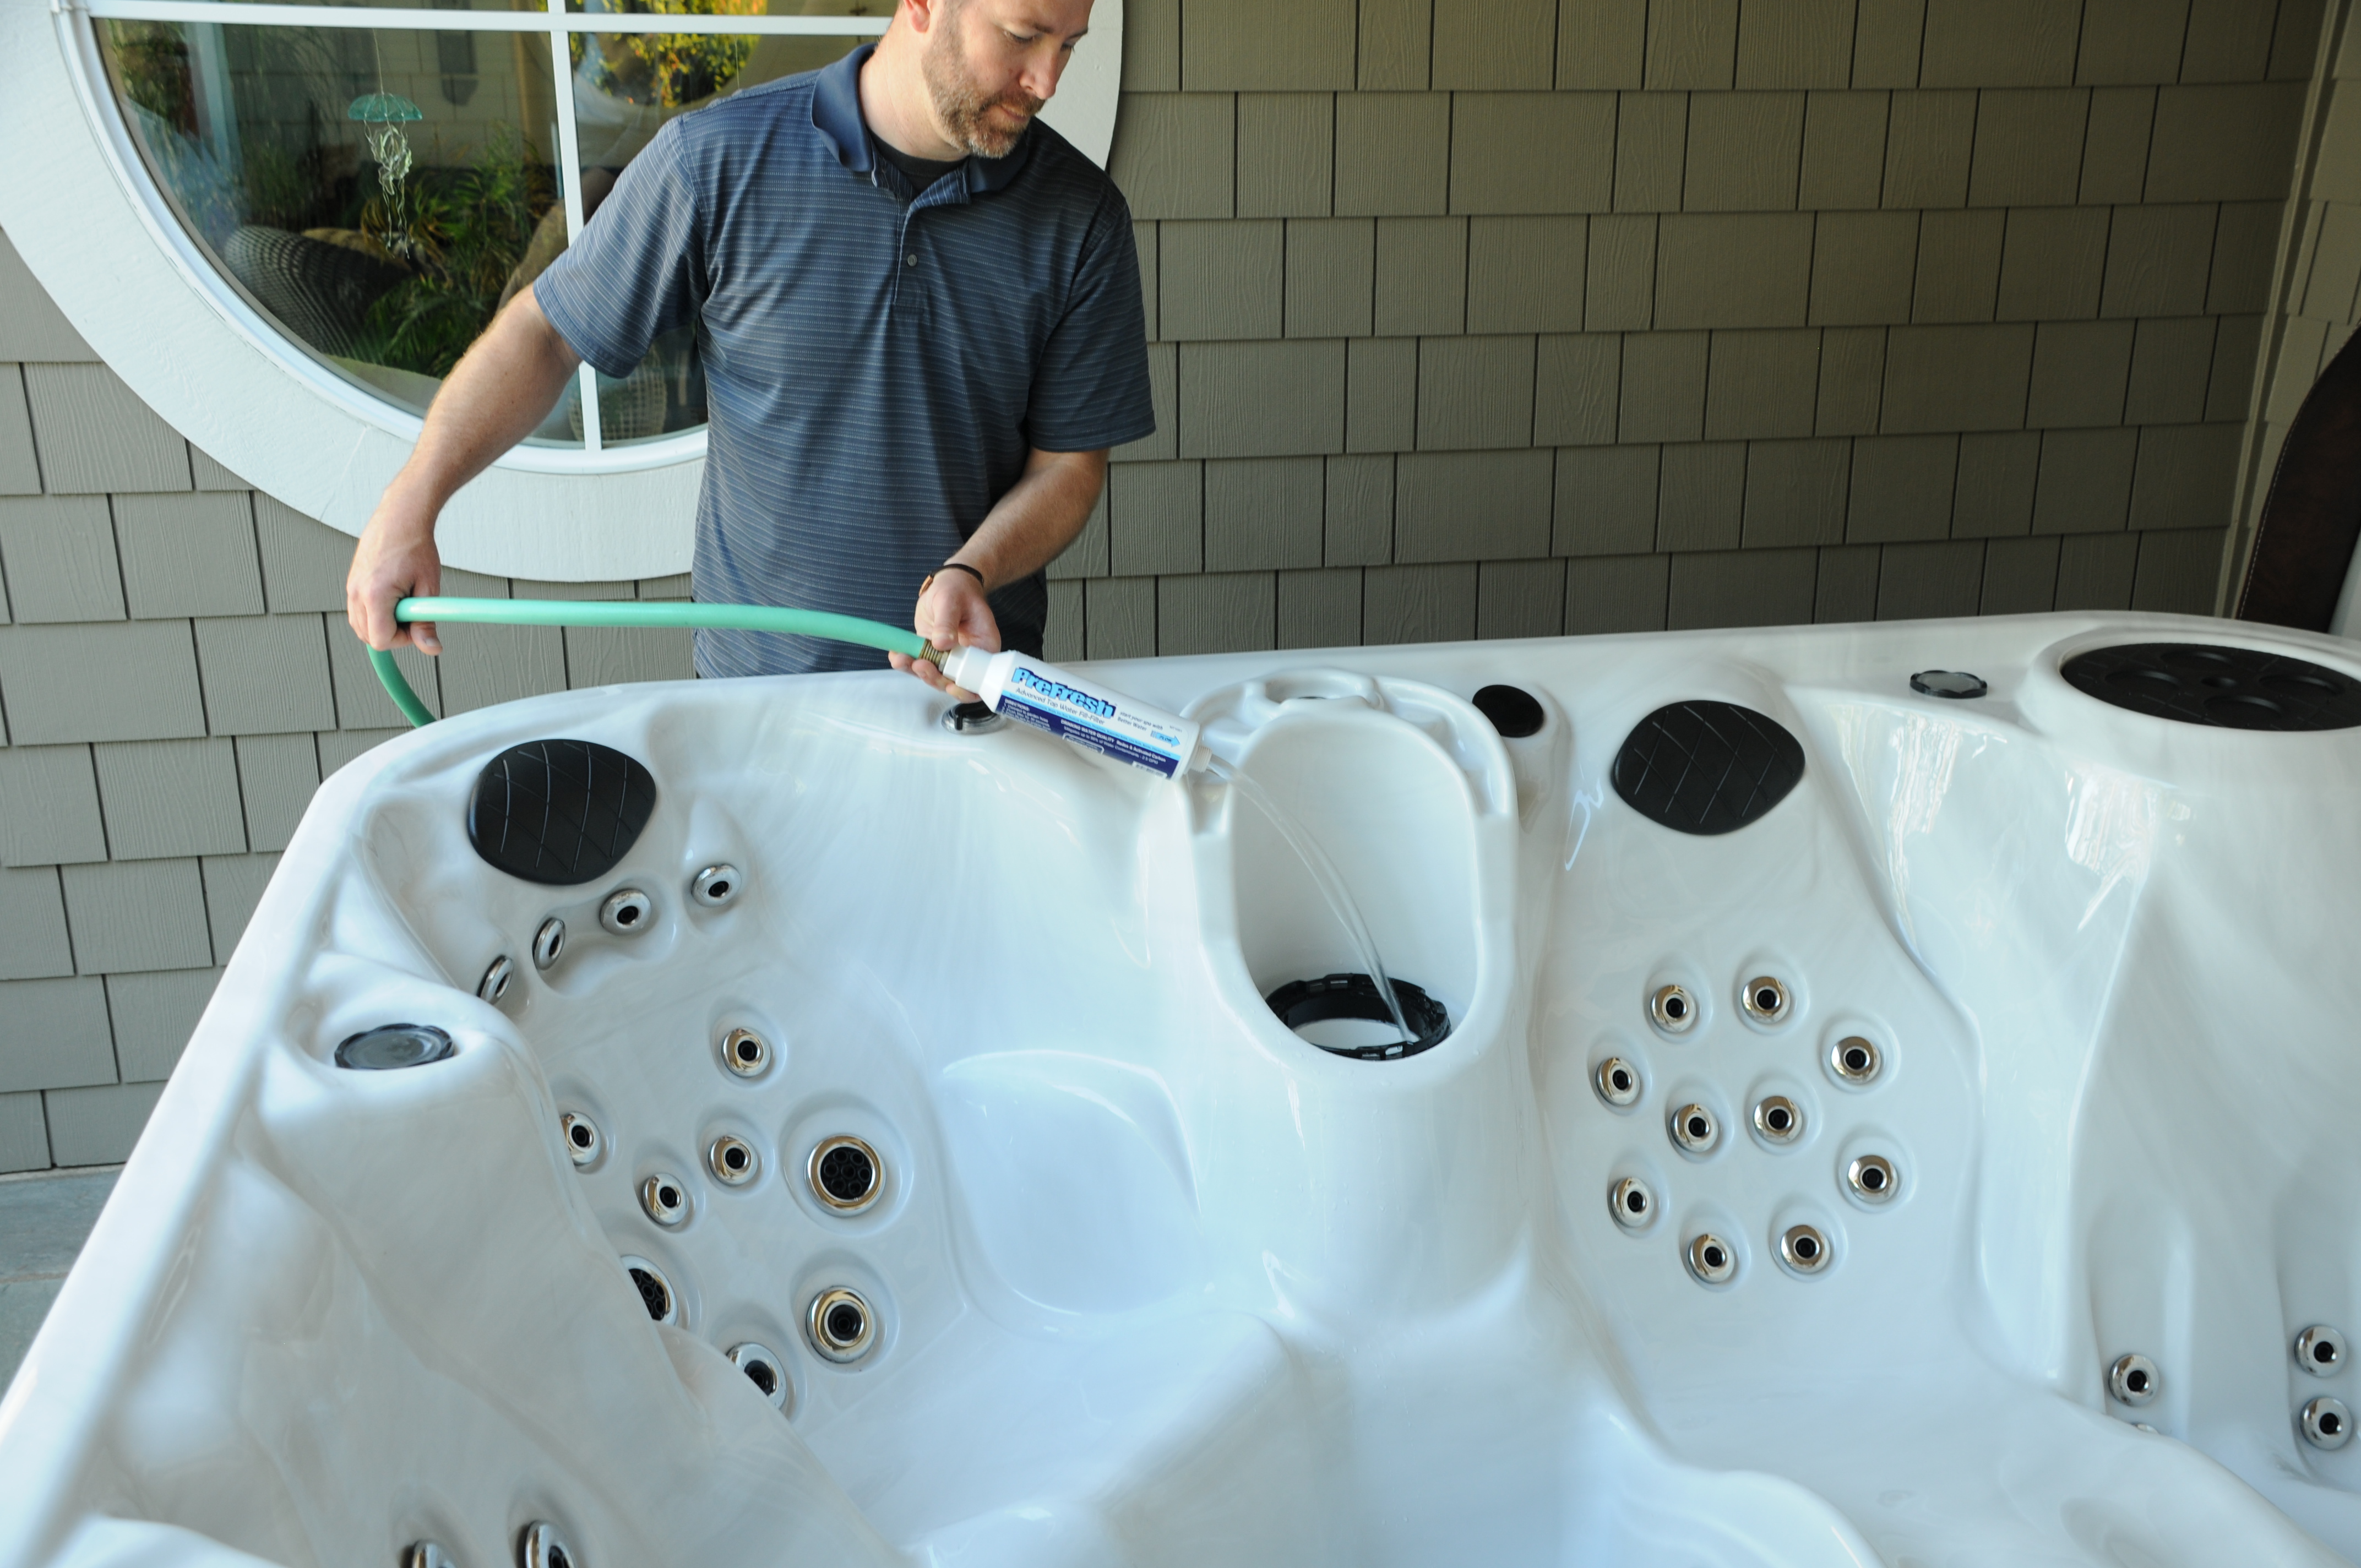
Also double-check your manual for the recommended fill height, as it can vary between spa brands.
- Place a garden hose into the empty filter chamber
- Fill the spa to around 2″ higher than the highest jet (excluding neck and shoulder jets)
- Loosen both pump unions attached to the heater
- Allow water to trickle out for about 10 Seconds
- Re-tighten the unions
Power Up
The spa must be full of water before turning it on. Powering on your hot tub without water can damage the heater, called “dry-fire.”
- Turn on the power at the GFCI breaker or plug-in
- Reinstall the filter
- Check the pumps by pressing the “Jets” buttons on the keypad
- Look for leaks inside the cabinet while the pumps are running
- set the heat to your desired temperature
- Replace and secure the cabinet panels
NOTE: it can take from several hours to a full day for the tub to heat up.
Balance & Sanitize
Now that the tub is filled, all of the components have been tested and no leaks are found, it’s time to balance and sanitize the water. Pro Supplies Kits are available if you didn’t receive a chemical supplies kit with the spa, or aren’t sure where to start.
Learn more about balancing and sanitizing your spa:
ABC’s of Water Chemistry
Hot Tub Water Prep & Maintenance
Important: The information provided here is for educational purposes only. It is neither a substitute nor a replacement for the information contained in your owner’s manual. Consult with your local building department, qualified licensed contractor, or structural engineer for structural and electrical requirements as appropriate.

2 comments